Our game devlog this week is talking about deadly plant sculpts, timing animations, improving and streamlining asset creation, and new weapon sound fx. Keep up-to-date with our developing online RPG by checking us out on Twitter, Instagram and Reddit - now let’s get into it!
3D Modelling
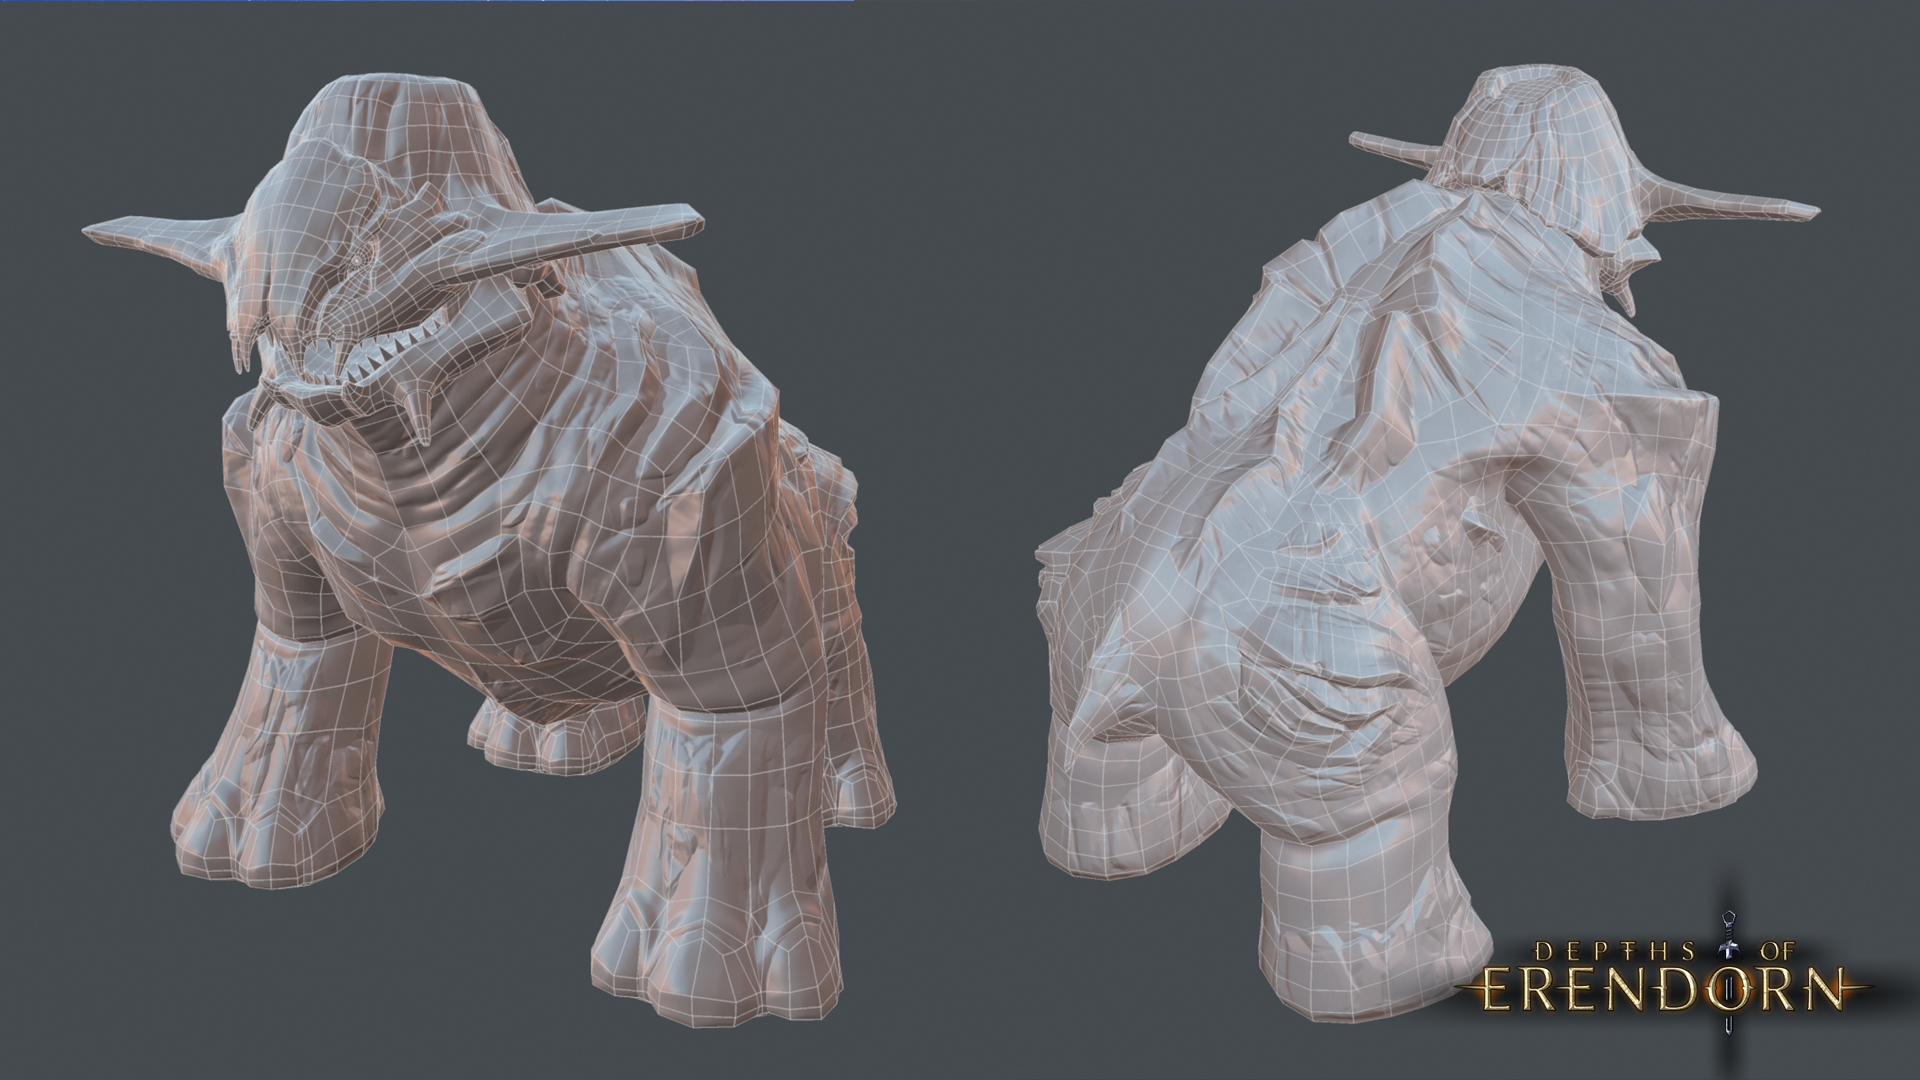
Continuing with their work on creating the deadly plants of Erendorn, this week our 3D Modeller began sculpting the Thrasher Plant. This enemy deals high amounts of Stun Damage and comes in two classes:
- The Deadly Thrasher Plant deals Stun that bleeds over time.
- The Lifestealing Thrasher Plant deals Stun that slowly robs you of Health.
Whilst sculpting this character, our 3D Modeller decided to explore a few design changes, but we liked both so much that we decided to use the changes to create an alternate Thrasher Plant class. They also:
- Carried out tests on the leaves around the mouth to ensure that they can close nicely.
- Projection bake tested the roots to check that the topology and UV size would work.
With the Predator, Hydra and Thrasher Plants all sculpted and retopologised, we could begin unwrapping these troublemakers. Texturing will hopefully begin in the next few days, so stay tuned for that.


Animation
Our Animator cleaned up a few of the animations for the Human base mesh this week, and imported them into the engine for testing with other characters. They also started to make some timing changes in animations in order to achieve a better feeling when you play:
- How long an action takes from start to finish is called timing animation.
- Some animations in the game are too fast, and can’t be noticed as well as others.
- Other animations are too slow, or take too much time to complete an action.
To find the right balance, our Animator played around with a few different timing changes, and many of them now feel more fluid and are performing a lot better. Impair, for example, which is an animation for the Knight, was originally too fast. This meant that you couldn’t see the spin or sword as well as the new version, which feels a lot more natural.

Environment Art
The rune decals that were created a few devlogs ago were improved this week. These are used to project a variation of runes onto assets in the environment so that each one is unique, not to mention that it significantly streamlines our artist’s workflow.
The only issue was that there was no way of having a single material that allowed us to have a normal map without a diffuse map. A normal map gives height details to make something look 3D, but has no colour. Using this with a diffuse map, however, still creates a 3D appearance, but with colour. While this does give us the option to create the illusion of blood or paint on a rune, we want to also be able to have runes that aren’t coloured, and that look like raw ancient carvings:
- UE4 doesn’t have the capability to turn off a map that’s not in use, like the diffuse map.
- This meant that there was no way of applying the normal map to meshes on its own.
- This led our artist to create two separate materials, one with colour and one without.
- This colourless version now only needs a normal map, instead of a diffuse map.
- This means that both painted and non-painted rune decals can now be used on assets!


A new lever was also created this week after our amazing Concept Artist sent over some new illustrations. Players will be able to interact with levers in the game - we just haven’t decided how we want to use them yet, so let us know what you think in the comments. When it came to creating the lever:
- The cogs and lever were separated in the blueprint so that they can be animated to turn.
- The metal cogs and lever in the original concept didn’t look as good under the current lighting.
- Although they were changed to stone, they can be swapped back to metal if needed.


After spending the last month creating altars, obelisks, tombstones and shrines, our Junior Environment Artist decided to start modelling some more generic assets for settlements. This includes things like chairs and tables, the creation of which has been massively sped up:
- Generic props like these don’t need to be sculpted in ZBrush, nor painted individually.
- Instead, all we have to do is make a midpoly in UE4, which doesn’t need to be sculpted or baked.
- Midpolys don’t need this because they’re made to have their key details in their geometry.
- This means that a texture can easily be applied to a midpoly in the engine.
- We’re currently making a material that will be applied directly to the different parts of this mesh.
- For this, our artist needed to set up material IDs for the meshes in Unreal Engine.
- These will show where the wooden planks or metal parts are on the mesh.
- The material can then be assigned to each mesh in the engine, making a much faster workflow.
This method saves a lot on texture budget as one texture can be used for loads of these midpoly assets. While we won't get as unique details on them as other, larger props, we’re not too worried about it because, since they’re only generic assets, it’s not really worth creating texture sheets for them.
A huge asset and prop list for settlements was then put together by both of our Environment Artists, so expect to see a few manifestations of this over the next few devlogs!
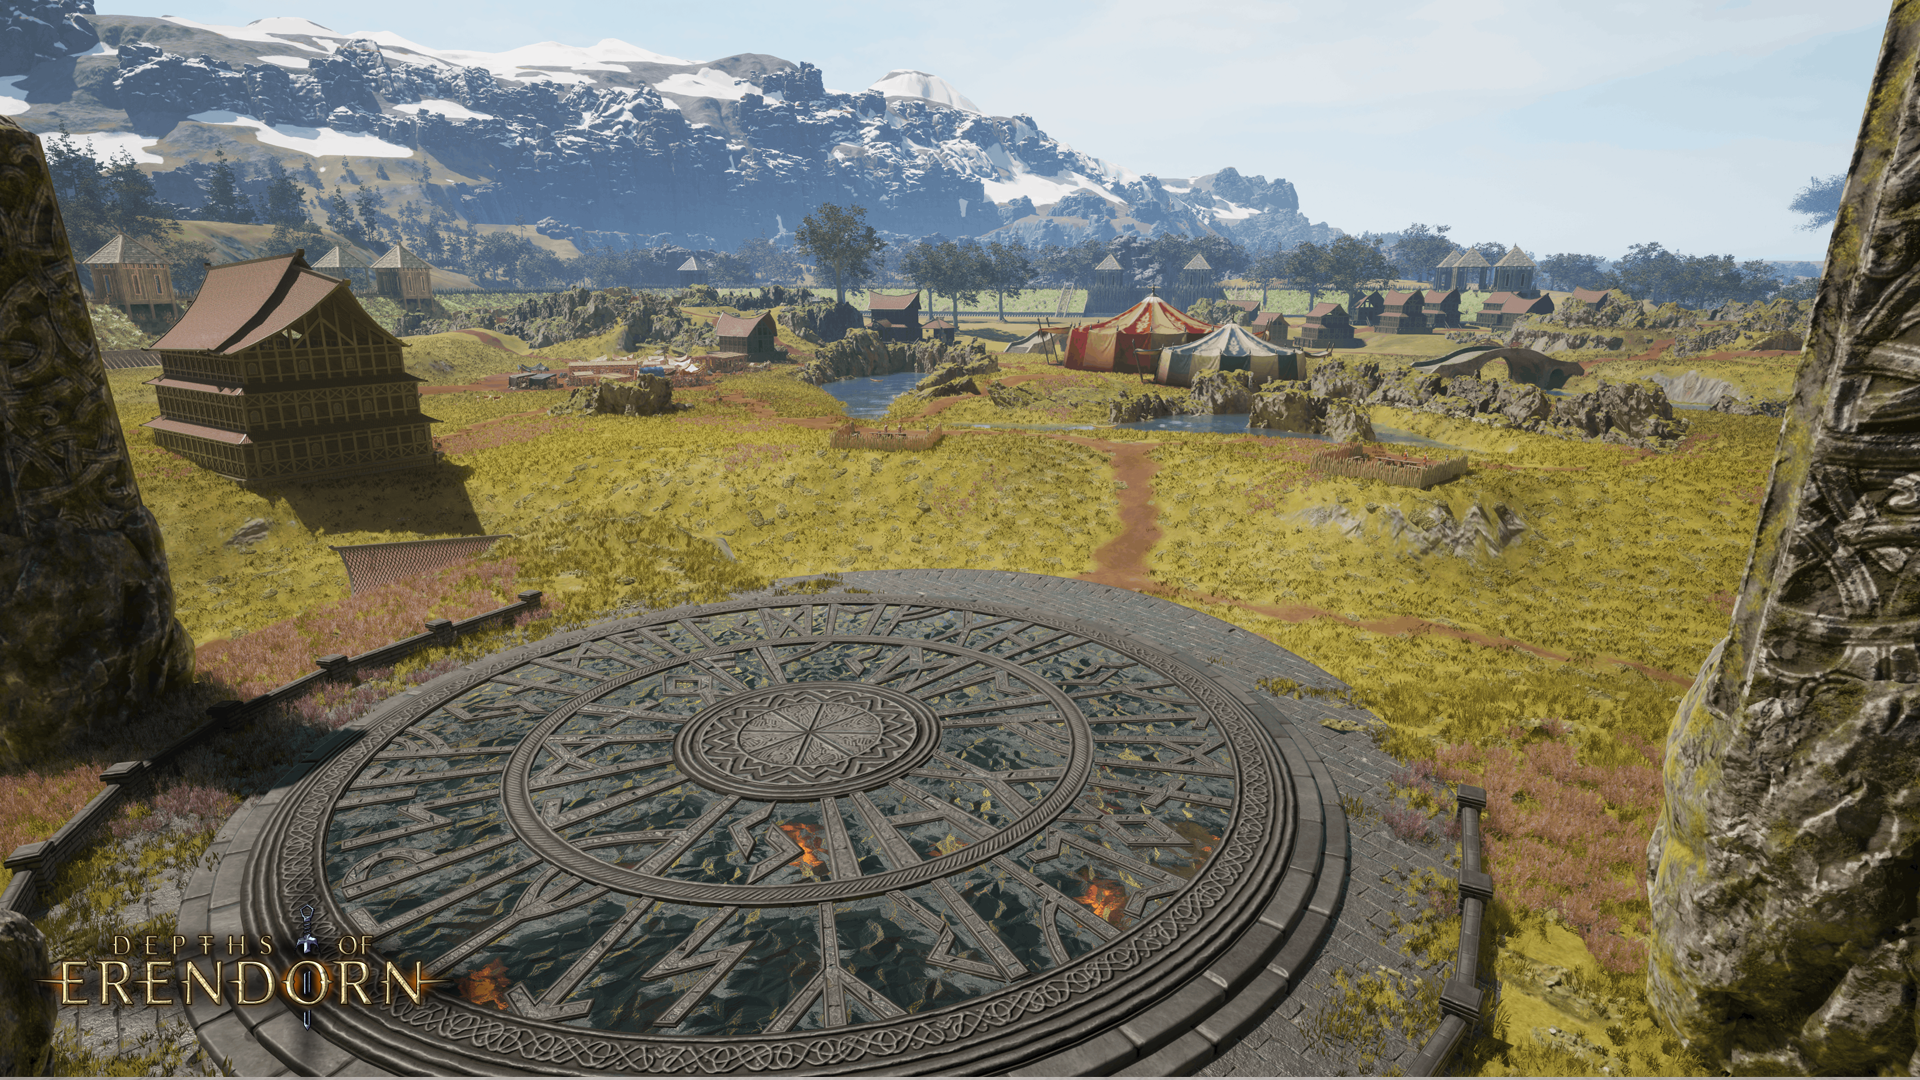
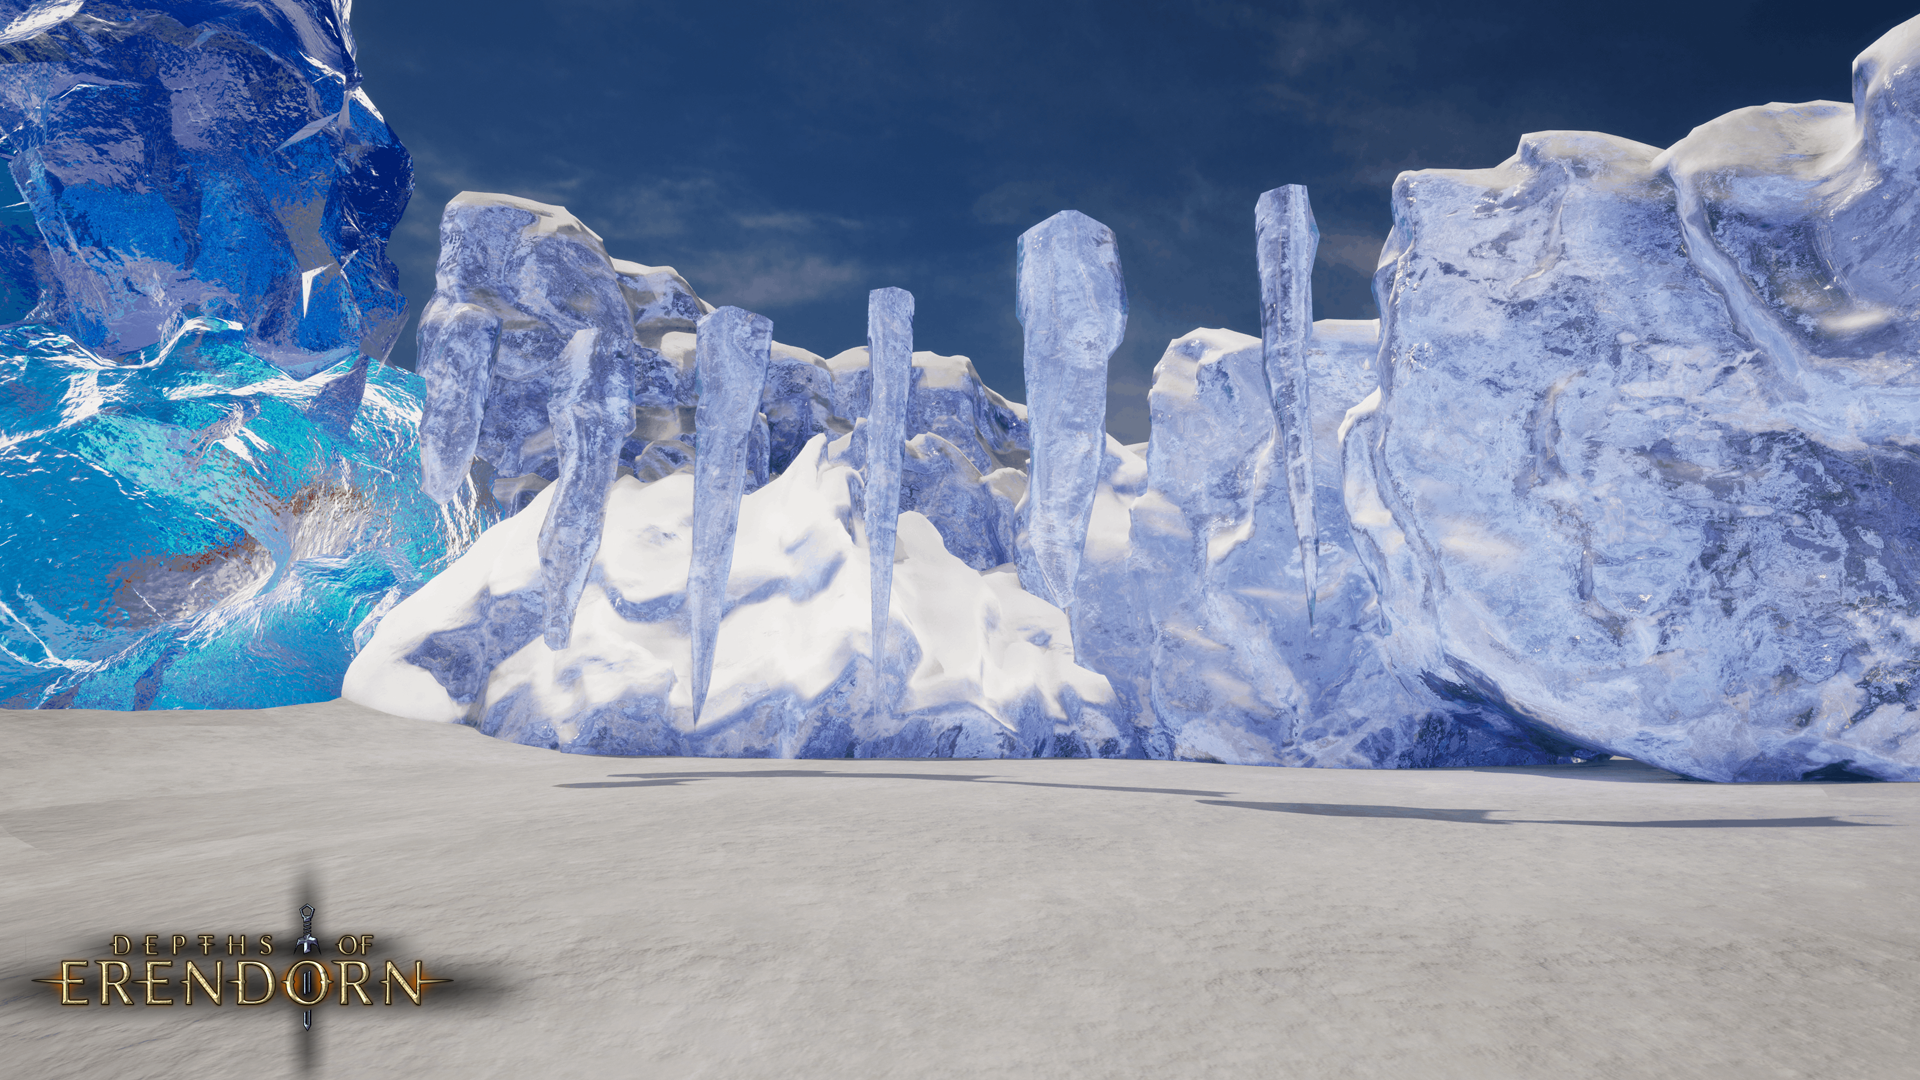
The last bits worked on this week include the cave terrain material, which was reworked from the ground up in order to fix tessellation and change the textures. Also, if you follow us on social media you’ll have noticed that a new character presentation scene has been created in UE4! We will be using this to display our characters and weapons under varying lights and camera setups - check it out below.


Visual FX
A few adjustments were made to the firefly particle system this week. We will use these in the backgrounds of our environments to add an element of fantasy and intrigue - and let’s face it, they also look really cool. With the improvements that have been made, these firefly systems are now easier to use when placing lights.
Our VFX Artist has also started testing out the visuals for the Knight’s abilities in a bunch of different scenarios. This is to make sure that they’re performing well and looking right under different settings.
Sound Design
SFX were added to some of the NPCs in the game this week. As a result, the Giant Rat, Swiftstrike Jaguar and Grey Boar all have sound effects assigned to them, and it was pretty awesome to see it all come together in the engine.
Our SFX Artist spent the rest of the week carrying on with the weapon sounds that they’ve been creating. This week’s arsenal includes one- and two-handed spears, axes, and hammers.
Creating sound fx for these weapons involved a lot of chopping and cracking of different items, as well as heavy amounts of layering in editing. Each of these weapons now have their own distinct sound and feel to them, so hopefully we can start using them with animations soon!
https://doe.horus.ninja/wp-content/uploads/2020/07/SFX_Hammer_1H__mixdown.wav
These are the draft sounds for the one-handed hammer.
https://doe.horus.ninja/wp-content/uploads/2020/07/SFX_Hammer_2H__mixdown.wav
These are the draft sounds for the two-handed hammer.
https://doe.horus.ninja/wp-content/uploads/2020/07/SFX_Spear_1H__mixdown.wav
These are the draft sounds for the one-handed spear.
https://doe.horus.ninja/wp-content/uploads/2020/07/SFX_Spear_2H__mixdown.wav
These are the draft sounds for the two-handed spear.
https://doe.horus.ninja/wp-content/uploads/2020/07/SFX_AXE_2H_mixdown.wav
These are the draft sounds for the two-handed axe.
Programming
This week, our Programmers worked on a chain blueprint that our Environment Artists will be using to create 5-link chains, and it was improved through the addition of auto scaling and dynamic length features. Other additions made in the engine this week include:
- A tertiary material to the vertex data of the floor.
- A debug visualiser for the new tertiary material.
- Three different light implementations were also added.
The new lights introduced to the game this week include glowing clusters of fungi, crystals, and the fireflies we mentioned earlier. All of these will be used not only to add some extra light sources, but to also enhance the feeling of fantasy in the game. It wasn’t all smooth sailing, though, with our Programmers having to fix a bug that was preventing the lights from being removed when a room was unloaded.
This week was also focussed on continuing the implementation of prop placement methods. For this, our Programmers added the ability for prop Blueprints to be marked as Wall Props, which are positioned and rotated along the edge of walkable space when spawned by prop volumes in the room building phase. This allows us to spawn larger environmental props without getting in our heroes’ way during gameplay.
We also created a Room Profile class for defining a number of factors that affect room generation, including:
- Models used for internal walls;
- Sets of lighting props;
- Ambient sfx, and prop families.
This now gives us the ability to generate any number of combinations of environments while keeping consistency between the assets we use in the process.

Thanks for joining us for this week's devlog - see you next Friday!