Happy Friday, everyone, and welcome back to another weekly game devlog! We’ve got a lot of new assets and sound effects to show you this week, so make sure to let us know what you think over on Instagram, Twitter or Reddit!
3D Modelling
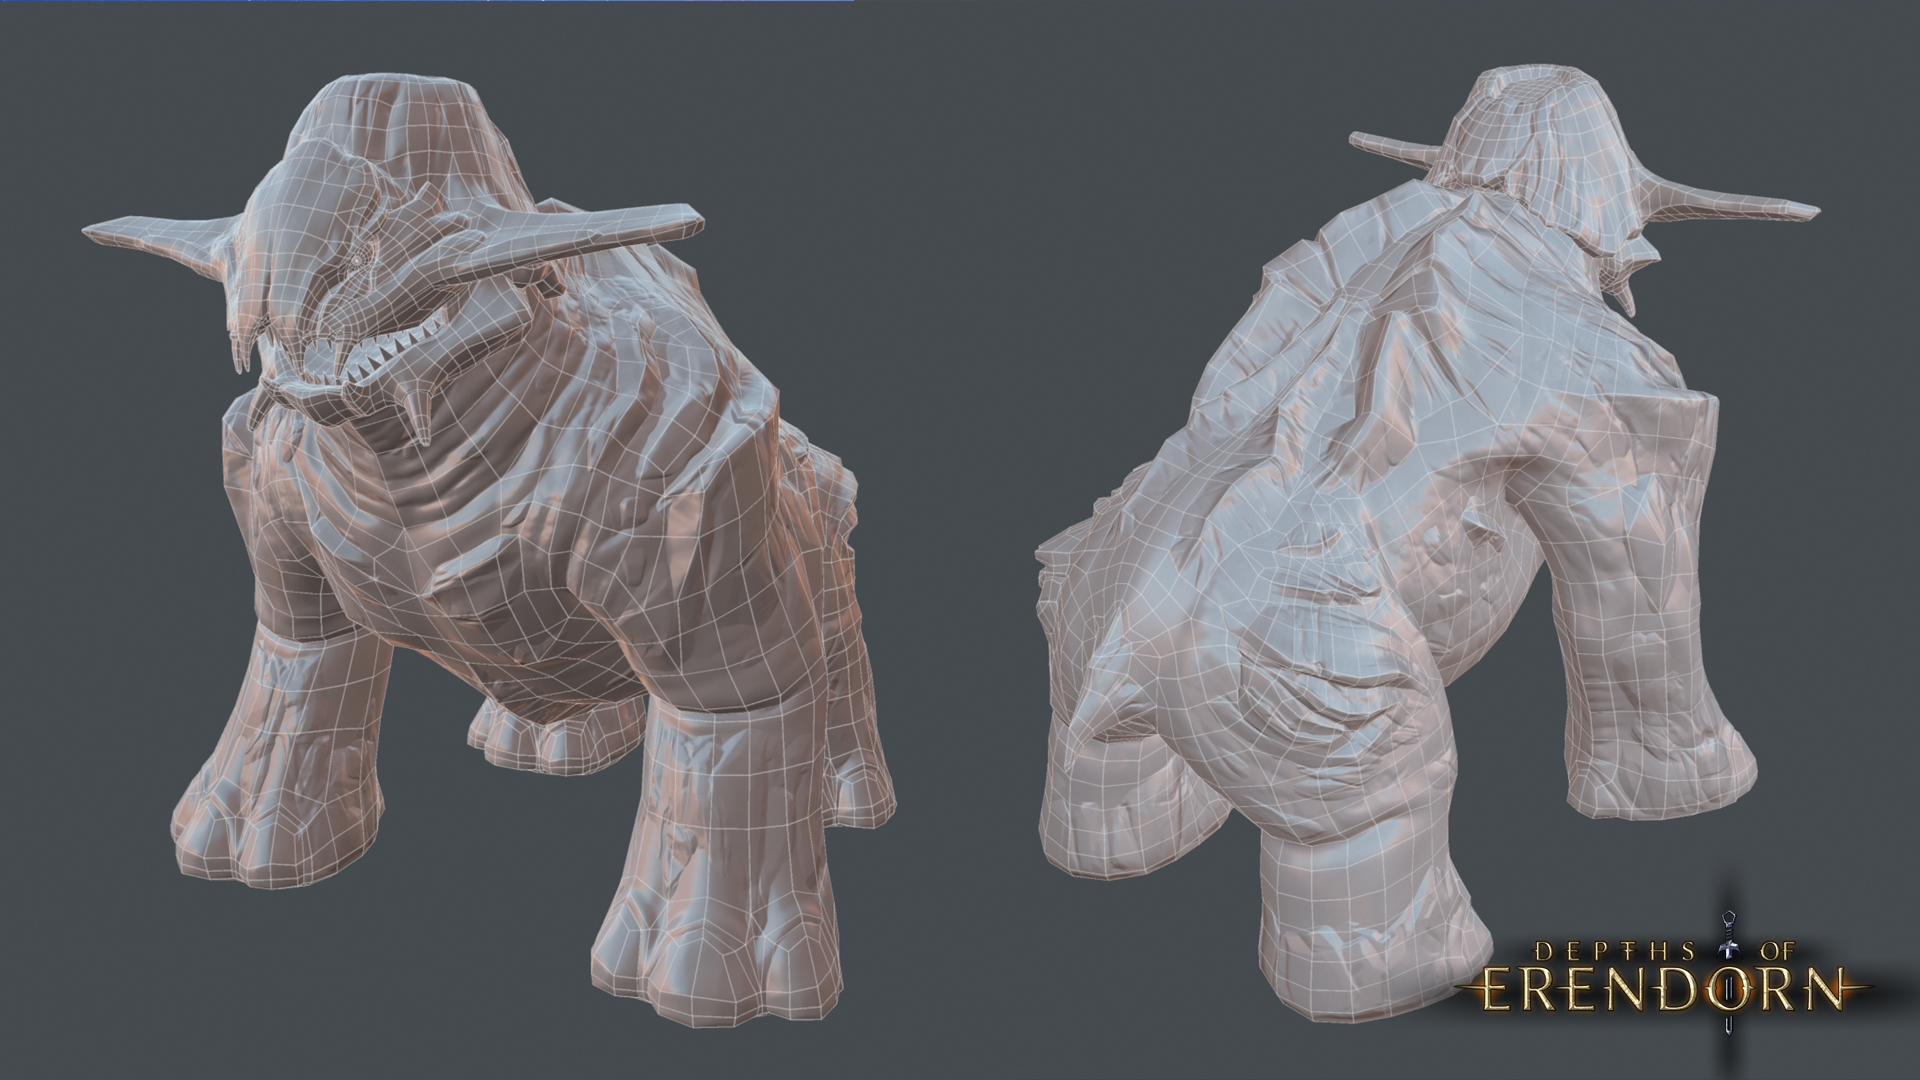
This week, our 3D Modeller continued sculpting the Human Soldier series of characters that will appear in Depths of Erendorn. While a simple helmet and tunic design were created for the lowest level Soldier, the highest level featured more complicated elements:
- A lot of layering was used for the armour in order to make this character look superior and more distinguished. The plating on insect bellies was actually used as a reference for this.
- Small details were added to various pieces, such as studs around the waist and the illusion of buckled straps across the torso. We also outlined each armour piece with ridges for decoration.
- A unique helmet was also sculpted for this high-ranking Soldier. We wanted this piece to be distinctive to the Soldier so that it wouldn’t look similar to one of our playable characters, the Knight.
Our 3D Modeller then had a think about how they could split up each of the parts to accommodate the character customisation system that they worked on last month. Finally, with both Soldier types fully sculpted, we could move on to retopologising everything - and, given the amount of detail in the highest Soldier class, our 3D Modeller is definitely finding it a little soul-destroying!


Animation
In animation this week, our Animator added two spell animations to the Twilight Elf Assassin - these were originally transferred from the Human and then edited to fit the Assassin. Once these animations had been imported into the engine:
- The Animation Controllers for the Assassin were updated.
- Two ability spells were added in the state machine.
- Triggers were then finally created for these animations.
Whilst in the engine, our Animator also added in the Animation Blueprints that were still missing, as well as updated all animation sequences. They have also started to block out a run cycle animation for the Forest Druid, so come back next week to check out how this gets along.
Environment Art
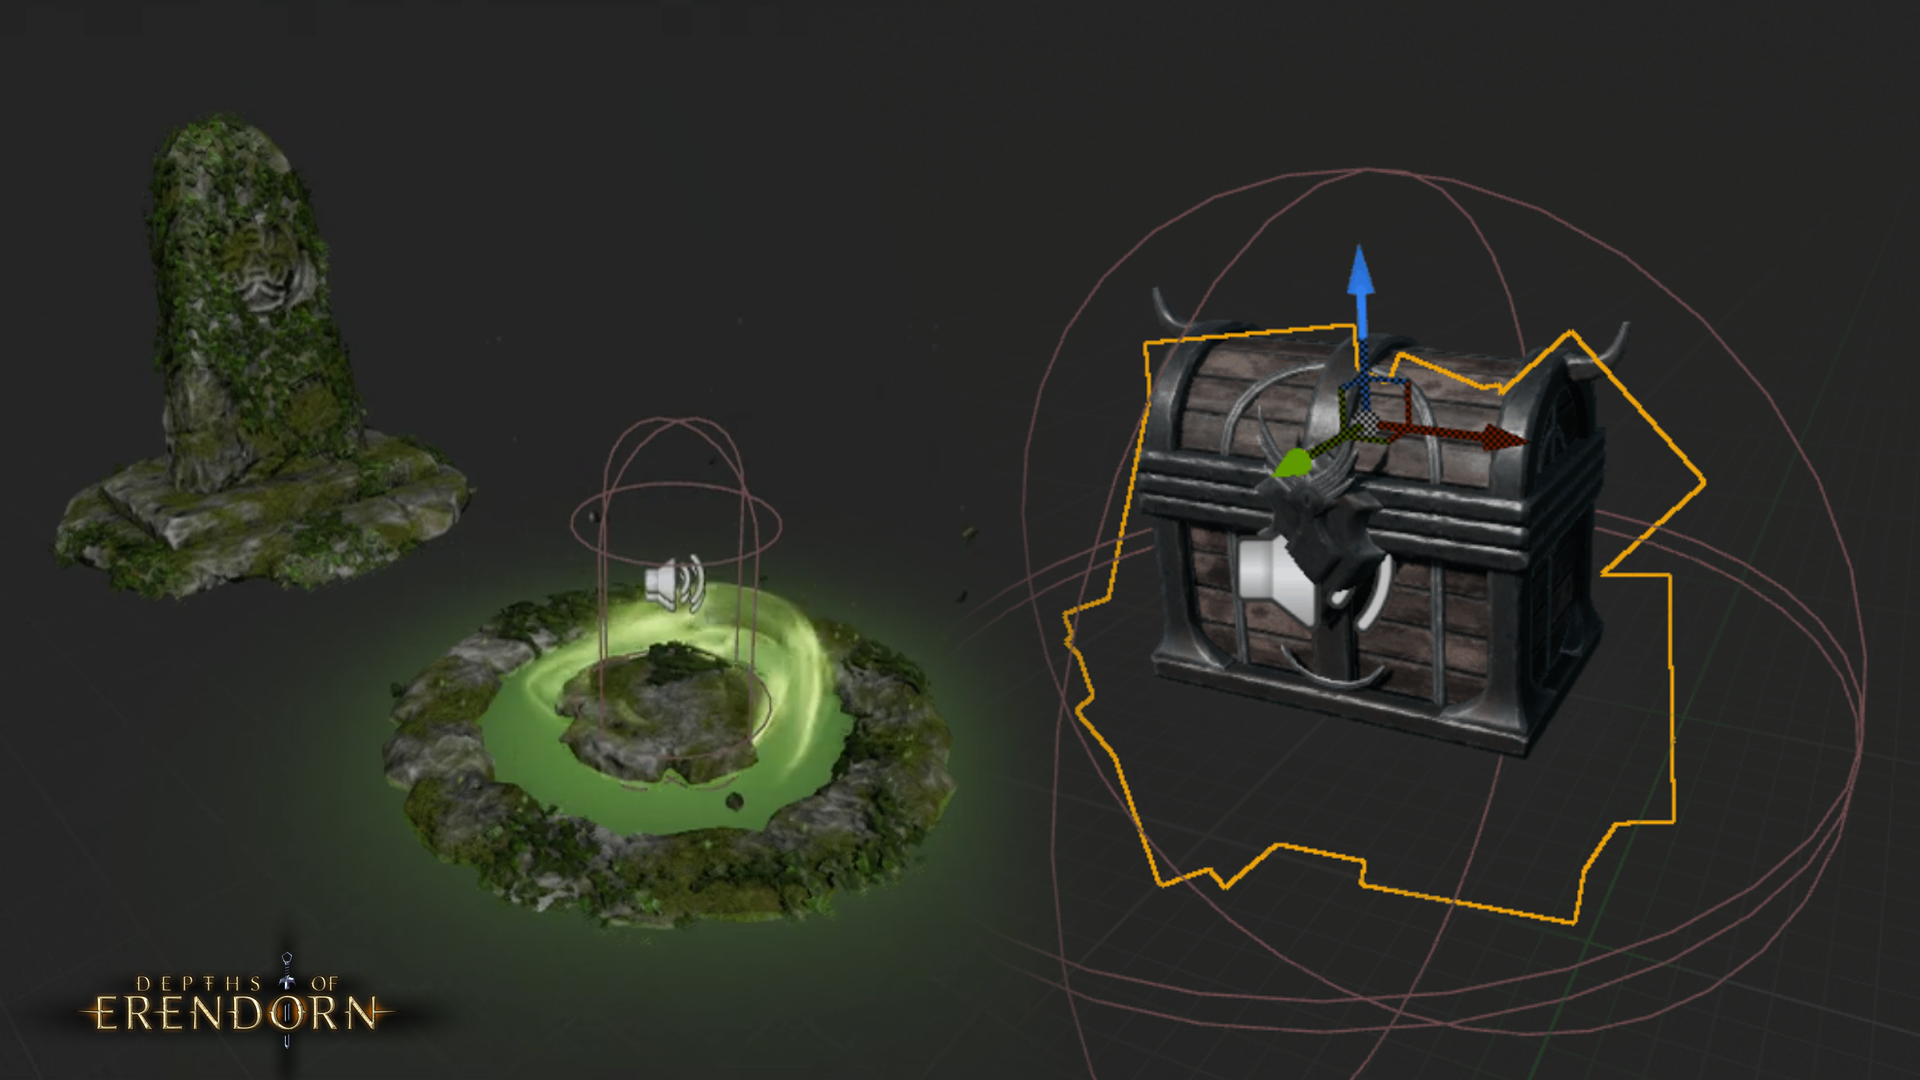
A new shrine asset was created in the Environment Art department this week. Using our Concept Artist’s orthographic viewsheet as a reference, the shrine was first sculpted in ZBrush before being brought into Substance Painter for texturing. When it came to adding runes to the shrine, there were a couple of ways we could have shown these:
- The runes could either have been painted on top of the stone in an emissive material, or carved in like the markings on last week’s altar.
- While we preferred having the runes carved into the shrine, we loved how the emissive light turned out, and so decided to compromise by carving them in with the emissive material.
Once the textures for the shrine were finished, this asset was brought into one of our test scenes, where candles were added all around its base. The candles’ flames were actually made from a basic particle emitter and material that warps the texture of a flame to create a flickering effect.
After taking a moment to really appreciate how awesome this asset turned out, we put the shrine, the altars and all their extra assets into Blueprints so that they could act as one mesh. Doing this saves us a future headache by making them easier to place in the world, since it means that the loose pieces won’t have to be placed individually.


The next asset that was worked on was the obelisk, which was textured similarly to the shrine: deep, emissive carvings, a rough and worn stone texture, this time daubed with a mossy material to indicate its age. The only issue is that the team is struggling to decide on which shape we like best for this monument! So we’re holding off on putting it into the engine until we can reach a decision. That meant that it was time to move on to creating another asset - the cauldron:
- This piece had more fiddly bits to it than the other assets. To combat this, a more in-depth blockout was created and brought into ZBrush to make the Artist’s life a little easier.
- Different materials were then added to the mesh in 3ds Max. This way, they could be easily split into polygroups in ZBrush so that they could be moved around individually.
- Splitting them up like this proved to be pretty useful because it gave the Artist more flexibility with the cauldron - the handles, for example, could be moved from where they were originally placed.
The Decimation Master tool in ZBrush was then used to make the low poly. This was ideal to use because unlike the Zremesher, it doesn’t lose as much geometry information. We actually saved a lot of time by decimating the cauldron, rather than retopologising it by hand. While it would be bad practice to do this for major assets, the cauldron is just a small set dressing piece, and so it was important to balance quality and speed.
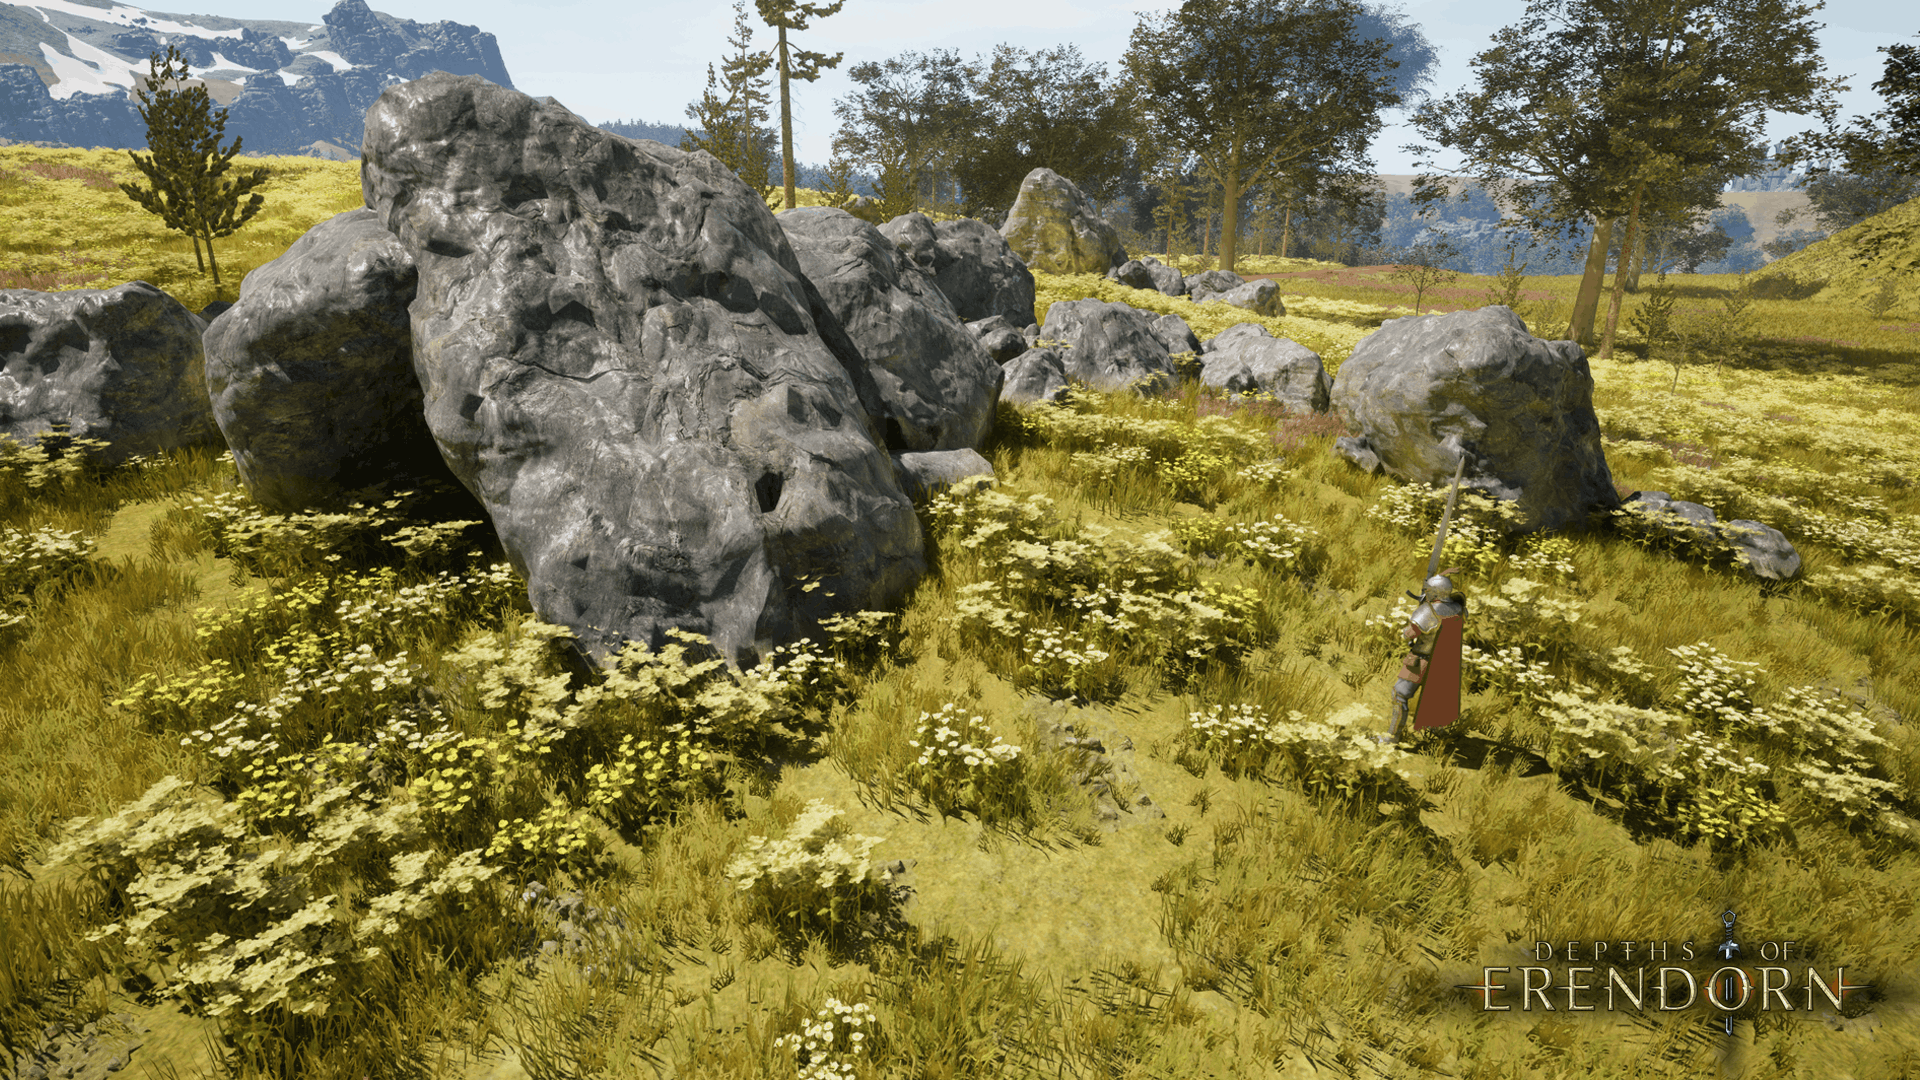
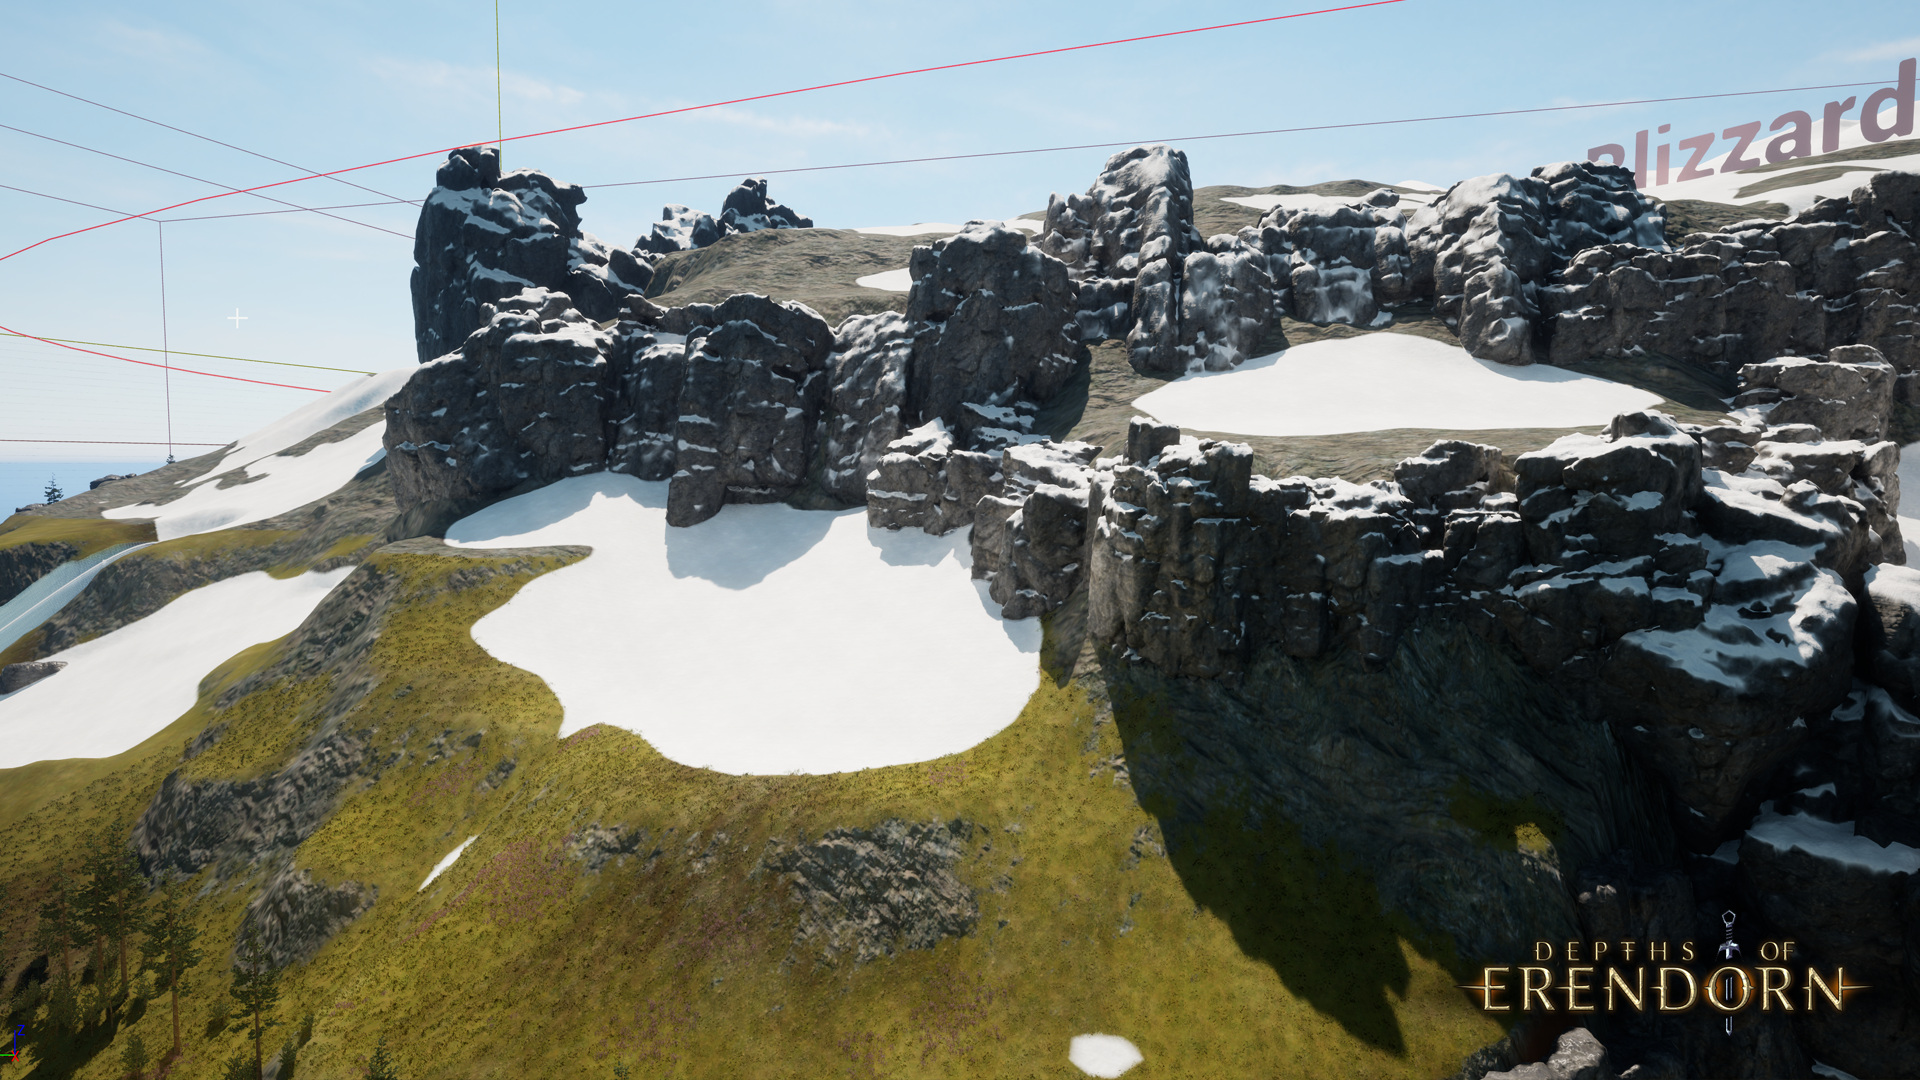
Moving on from assets, three additional cliff piece variants were generated for our cave dungeons using Houdini this week. These were then retopologised, UV mapped and baked. We then created a new Cave/Cliff master material that utilises masking and triplanar texturing:
- This texturing methodology is beneficial as it allows us to easily blend cliff assets together.
- It also allows us to scale assets as much as we like without losing detail in the texture density.
- This really helps when it comes to creating huge dungeons and expansive zones with epic vistas.


Visual FX
Our VFX Artist has continued with their work from last week by implementing and testing visual effects for abilities. This has kept them pretty busy, with some visual fx being added to the Knight’s abilities as well as to some generic spells, both of which are currently being tested.
Sound Design
Our Sound Artist has dedicated a lot of this week to implementing audio into the engine. With that work, most of the generic ability sounds are now in, alongside quite a few character abilities.
Then, following on from the Centaur hoofsteps that were created last week, our Sound Artist moved on to creating the vocals for the Veloxian Centaurs. There are two Centaurian races in Depths of Erendorn: the Icegrips, who live in the Arctic Region and carry out acts of psychotic torture on their victims, and the Veloxians, a race of disciplined and militaristic fighters.
Though stemming from the same race, these enemy classes are entirely different, and so require unique vocalisations. While we’re imagining the Icegrip Centaurs to have a more sinister, more evil quality to their sound design, the Veloxian Centaurs needed to sound a bit more human-like and battleworn:
- Our Sound Artist began by blending a human voice with the neighs of a horse.
- This wasn’t working, so the neighing was removed and replaced with a deeper, grunty underlayer.
- The vocalisations were also made to sound forced and almost pained.
- This ties in nicely with the battleworn and militant nature of these war-hungry Centaurs.
https://doe.horus.ninja/wp-content/uploads/2020/06/SFX_Attack_FLTCentaur_A.wav
These are the draft sounds for the Veloxian Centaurs' attacks.
https://doe.horus.ninja/wp-content/uploads/2020/06/SFX_Death_FLTCentaur_A.wav
These are the draft sounds for the Veloxian Centaurs' deaths.
https://doe.horus.ninja/wp-content/uploads/2020/06/SFX_HitReact_FLTCentaur_A.wav
These are the draft sounds for the Veloxian Centaurs' hit reactions.


Programming
A lot of our Programmers’ week has been about improving the team’s proficiency at testing ability templates. In order to do this:
- Two test characters were generated for each character class, and were given half of the potential abilities that the original characters possessed.
- Their stats were then buffed up before they were shared to the action team's accounts. Doing this will allow our devs to test characters without having to leave and join new games for different loadouts.
We also fixed some major bugs regarding build crashes this week. One, for example, was causing the game log's data to be cleared before it was necessary. The same bug was also incurring fatal errors in the builds, so this was quickly tracked down and fixed.
Moving on, a Grid Node System has been created, bug-tested and improved this week. In a nutshell, this system is a way of storing values per node in a grid across a map, and smoothly transitioning between these values at each point. We will be using the Grid Node System to improve the floors in the game by changing them from a rather boring flat plane, to one that adjusts its height depending on where it is in a room:
- In order to offset the floor, i.e. to make it rise near the walls, we are using the Grid Node System to store values near the walls.
- We will then be able to sample the system so that we can determine how close it is, or how much of an influence the walls will have on any given position.
- When sampling the node system, the higher the value it is, the more influence the nearby walls will have on this location.
- When it comes to building the floor mesh, the height of the floor will be determined by these values stored in the Grid Node System.
- Using this information, we will be able to change the floor material as well as the height offset of each vertex in the floor mesh.
By having the floor adjust its height according to its location, a more realistic element will be brought into the game as the floors will look naturally-formed rather than flat and static. The variations in height that the Grid Node System enables will make the floors appear uneven and, therefore, much more realistic. This is imperative as we want the game’s environment to feel believable and have a lot of variation.
But the Grid Node System is capable of holding and interpolating more than just a single value, so we will be able to use it for other things in the future as well. For now, though, using it to improve the floors is the main usage we’re focussing on.
During the process of bringing this feature to life, a few changes had to be made in order to accommodate it:
- The movement and spawning of entities had to be altered to avoid enemies and players spawning and walking through the floor.
- Since the floor isn’t flat anymore, the grid itself also had to be changed from a placeholder flat plane so that the grid wouldn’t get lost inside the floor.
- Now, instead of using this flat plane, a custom mesh will be generated to hold the grid. This way, the grid will remain on top of the floor because it deforms with it.
The final bits worked on in Programming this week include updating the ability bar to scale depending on the number of abilities it is displaying, and adding failsafes to Custom Steppers. The latter is important because the failsafes will handle templates that may contain null assets. This will in turn prevent crashes if files are moved, or if references are lost.


That's it for this devlog! We'll see you next week with more updates on our upcoming RPG!